Using a 12V 4-pin start relay in a motor speed control circuit can significantly enhance the performance and safety of your motor operations. As a trusted supplier of 12V 4-pin start relays, I'm here to guide you through the process of integrating this crucial component effectively.
Understanding the Basics of a 12V 4-Pin Start Relay
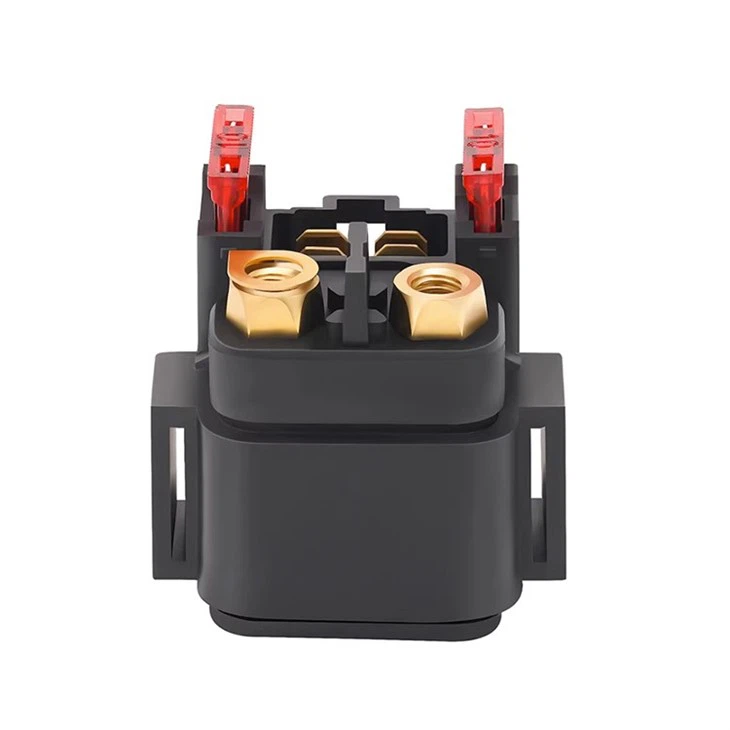
Before we delve into its application in a motor speed control circuit, let's understand what a 12V 4-pin start relay is. A relay is an electrically operated switch. The 12V indicates that the relay is designed to operate with a 12-volt power supply, which is common in many automotive and small motor applications. The 4-pin design typically consists of two pins for the coil and two pins for the switch. The coil pins are used to control the relay by applying a voltage to activate or deactivate it. When the coil is energized, the switch inside the relay closes, allowing current to flow through the other two pins.
Components Required for a Motor Speed Control Circuit
To use a 12V 4-pin start relay in a motor speed control circuit, you will need the following components:
- 12V 4-pin start relay: This is the core component that will control the motor's power supply.
- Motor: The device whose speed you want to control.
- Power supply: A 12V power source to provide energy to the relay and the motor.
- Speed controller: This can be a variable resistor or a more advanced electronic speed control (ESC) unit.
- Wiring and connectors: To connect all the components together.
Step-by-Step Guide to Using the Relay in a Motor Speed Control Circuit
Step 1: Plan the Circuit Layout
Draw a schematic diagram of your motor speed control circuit. This will help you visualize how all the components are connected and ensure that you have a clear understanding of the design. Place the relay in a position where it can easily switch the power to the motor.
Step 2: Connect the Power Supply
Connect the positive terminal of the 12V power supply to one of the coil pins on the relay. Connect the negative terminal of the power supply to the other coil pin through the speed controller. When the speed controller allows current to flow through the coil, the relay will activate.
Step 3: Connect the Motor
Connect one of the switch pins on the relay to the positive terminal of the motor. Connect the other switch pin to the positive terminal of the power supply. Connect the negative terminal of the motor to the negative terminal of the power supply. This way, when the relay is activated, current will flow through the motor, causing it to start.
Step 4: Install the Speed Controller
Insert the speed controller between the power supply and the coil pins of the relay. As you adjust the speed controller, it will vary the current flowing through the coil, which in turn controls the activation and deactivation of the relay. This effectively controls the speed of the motor.
Step 5: Test the Circuit
Before finalizing the installation, test the circuit to ensure that everything is working properly. Turn on the power supply and gradually adjust the speed controller. The motor should start and its speed should change accordingly. If there are any issues, double-check your connections and make sure all the components are functioning correctly.
Applications of 12V 4-Pin Start Relays in Motor Speed Control
Automotive Applications
In automotive applications, 12V 4-pin start relays are commonly used to control the starter motor. They help to protect the ignition switch from high currents and ensure reliable starting of the engine. By integrating a relay into the motor speed control circuit of an automotive component, such as a cooling fan or a power window motor, you can improve the efficiency and safety of the system.
Industrial Applications
In industrial settings, motors are often used to drive conveyor belts, pumps, and other equipment. Using a 12V 4-pin start relay in the motor speed control circuit can provide precise control over the motor's speed, allowing for better process management and increased productivity.
DIY Projects
For hobbyists and DIY enthusiasts, 12V 4-pin start relays are a versatile component that can be used in a wide range of projects, such as remote-controlled vehicles, robotic systems, and home automation. By incorporating a relay into the motor speed control circuit, you can add an extra layer of control and functionality to your projects.
Choosing the Right 12V 4-Pin Start Relay
When selecting a 12V 4-pin start relay for your motor speed control circuit, there are several factors to consider:
- Current Rating: Make sure the relay can handle the current required by the motor. A relay with a higher current rating will be more reliable and durable.
- Switching Time: The switching time of the relay affects how quickly the motor can start and stop. A relay with a fast switching time is ideal for applications that require precise control.
- Quality and Reliability: Choose a relay from a reputable manufacturer to ensure its quality and reliability. Look for relays that have been tested and certified to meet industry standards.
Related Products
If you're interested in specific applications, we also offer a range of related products. For motorcycle enthusiasts, we have Yamaha Starter Relay, Honda VTEC CB400 Starter Relay, and 125 Starter Relay. These relays are designed to meet the specific requirements of motorcycle engines and provide reliable starting performance.

Contact for Purchase and Technical Support
If you're looking to purchase 12V 4-pin start relays for your motor speed control circuit or have any questions about our products, feel free to contact us. Our team of experts is available to provide you with technical support, product recommendations, and assistance with customization. We are committed to providing high-quality products and excellent customer service.
References
- "Electrical Engineering Handbook" by Richard C. Dorf
- "Motor Control Circuits" by Paul R. Glover
- Manufacturer's specifications for 12V 4-pin start relays


