

Hey there, fellow motorcycle enthusiasts! As a supplier of Yamaha Starter Relays, I often get asked about how to check the continuity of these crucial components. A starter relay is like the gatekeeper between your motorcycle's battery and the starter motor. If it's not working properly, your bike won't start. So, let's dive into the process of checking the continuity of a Yamaha Starter Relay.
Why Continuity Testing Matters
Before we get into the nitty - gritty of testing, let's understand why continuity testing is so important. Continuity refers to the unbroken flow of electrical current through a circuit. In the case of a starter relay, if there's no continuity, it means there's a break in the circuit, and the relay won't be able to do its job of sending power from the battery to the starter motor. This can lead to all sorts of starting problems, from a simple click when you turn the key to a complete failure to start.
Tools You'll Need
To check the continuity of a Yamaha Starter Relay, you'll need a few basic tools:
- Multimeter: This is the most important tool for this job. A multimeter can measure voltage, current, and resistance. We'll be using it to check the continuity of the relay's circuits.
- Safety Gloves and Goggles: Safety first! Working with electrical components can be dangerous, so it's important to protect your hands and eyes.
- Screwdriver: You'll need a screwdriver to remove the relay from your motorcycle.
Step - by - Step Guide to Checking Continuity
Step 1: Locate the Starter Relay
The first step is to find the starter relay on your Yamaha motorcycle. The location can vary depending on the model of your bike. In most cases, it's located near the battery or under the seat. Consult your motorcycle's owner's manual if you're having trouble finding it.
Step 2: Remove the Relay
Once you've located the relay, use your screwdriver to remove it from its mounting. Be careful not to damage any of the wires connected to the relay.
Step 3: Set Up Your Multimeter
Turn on your multimeter and set it to the continuity or resistance setting. On most multimeters, the continuity setting is indicated by a diode symbol (a triangle with a line through it). When you set the multimeter to this setting, it will beep if there's continuity in the circuit you're testing.
Step 4: Test the Coil
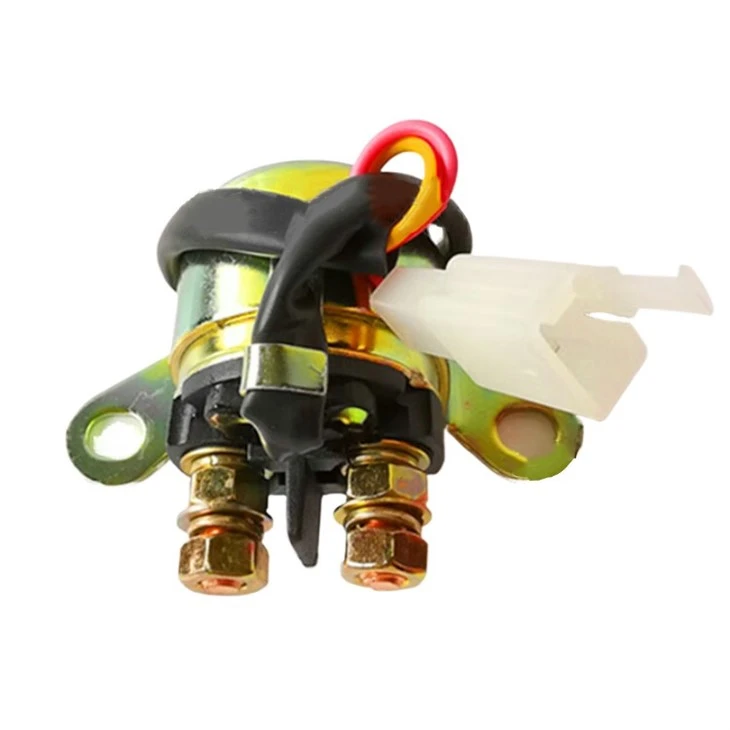
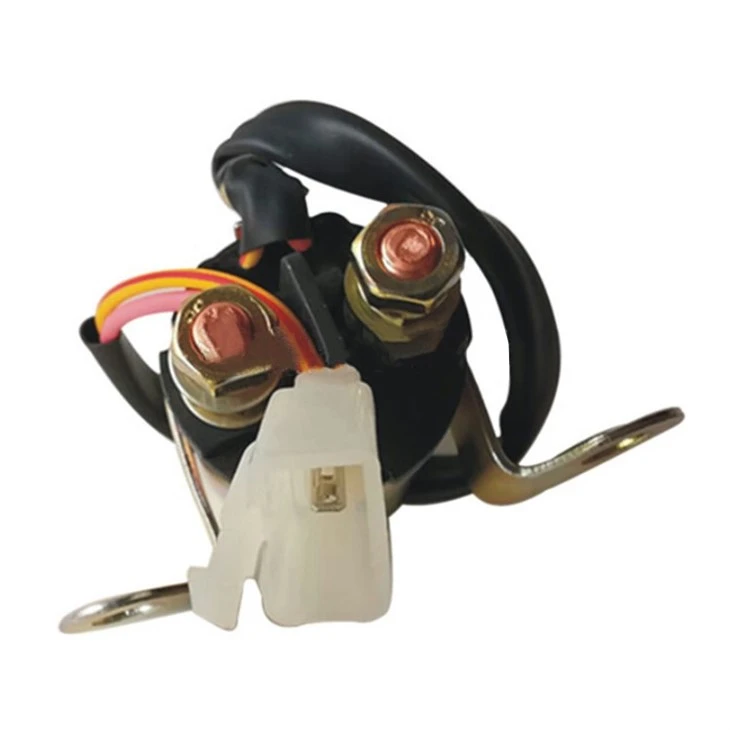
The coil in a starter relay is what creates the magnetic field that activates the relay. To test the coil, you need to find the two terminals on the relay that are connected to the coil. These are usually the smaller terminals.
- Connect the probes of your multimeter to these two terminals.
- If the multimeter beeps or shows a low resistance value (usually a few ohms), the coil has continuity. If there's no beep and the multimeter shows infinite resistance, the coil is broken, and the relay needs to be replaced.
Step 5: Test the Contacts
The contacts in a starter relay are what allow the electrical current to flow from the battery to the starter motor. To test the contacts, you need to find the two larger terminals on the relay.
- First, with the relay de - energized (not activated), connect the probes of your multimeter to these two terminals. The multimeter should show infinite resistance, indicating that there's no continuity.
- Then, use a 12 - volt power source (like a battery) to energize the coil of the relay. This will activate the contacts.
- While the relay is energized, connect the probes of the multimeter to the two larger terminals again. The multimeter should beep or show a very low resistance value, indicating that there's continuity in the contacts.
Common Problems and Solutions
- No Continuity in the Coil: If you find that there's no continuity in the coil, the relay is likely faulty and needs to be replaced. You can check out our Motorcycle Starter Relay GY6 or 12V Start Relay for QJ150 for suitable replacement options.
- No Continuity in the Contacts: If there's no continuity in the contacts when the relay is energized, the contacts may be dirty or worn out. You can try cleaning the contacts with a fine - grit sandpaper or a contact cleaner. If that doesn't work, the relay needs to be replaced. Our 12v 4pin Start Relay could be a great replacement in this case.
- Intermittent Continuity: If you're getting intermittent continuity, it could be due to a loose connection or a problem with the wiring. Check all the connections and wires for any signs of damage or corrosion.
Conclusion
Checking the continuity of a Yamaha Starter Relay is a relatively simple process that can save you a lot of headaches in the long run. By following these steps and using the right tools, you can quickly diagnose and fix any problems with your starter relay.
If you're in the market for a new Yamaha Starter Relay or any other motorcycle engine electric parts, we're here to help. We offer a wide range of high - quality starter relays at competitive prices. Whether you need a Motorcycle Starter Relay GY6, a 12V Start Relay for QJ150, or a 12v 4pin Start Relay, we've got you covered.
If you have any questions or want to discuss your specific needs, feel free to reach out to us. We're always happy to help you find the right parts for your motorcycle.
References
- Motorcycle Owner's Manuals
- Multimeter User Guides


